


Prepare It to Donate: Finishing Your Square with Care
- Dawn VanBlargan

- Feb 17
- 3 min read
You Made a Square. That Matters.
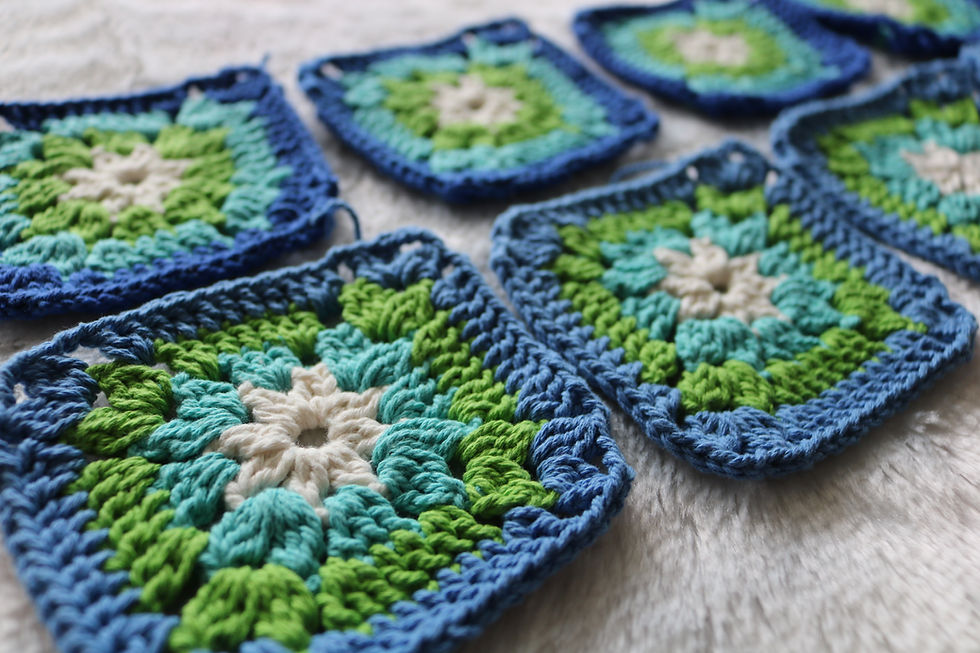
Whether it’s your first granny square or your fiftieth, taking the final step to prepare it for donation is just as important as crocheting it. A little extra care at the end ensures your square can be joined smoothly into a blanket that will bring comfort to someone facing serious illness.
This step is simple—but meaningful.
You’ve poured time and effort into creating your square, and now it’s ready to be shared with someone who needs it. But before you send it off, finishing your square with care is essential to make sure it looks neat, holds together, and feels comfortable. Taking a few extra steps to prepare it for donation will make a big difference in how your gift is received.
This guide walks you through 2 key steps:
Fastening off securely
Weaving in your ends

Finishing your square with care starts with weaving in ends neatly.
Step One: Fasten Off Securely
Fastening off is the first step to prepare it to donate. When you finish your last stitch, don’t just cut the yarn and walk away. Instead, take a moment to secure the yarn tail so it won’t unravel.
Here’s how to do it:
Complete your last stitch.
Pull the yarn through the loop to create a knot.
Leave a tail of about 6 inches.
Thread the tail onto a yarn needle.
This knot keeps your square intact. If you skip this step, your square might come undone during handling or washing, which can be frustrating for the recipient.
Tip: Use a yarn needle to pull the tail through a few stitches on the back side of your square. This adds extra security and hides the tail.
Step Two: Weave in Your Ends
Weaving in ends is where your square really starts to look finished. Loose yarn tails can snag or unravel, so tucking them in neatly is important.
Follow these tips:
Thread the yarn tail onto a yarn needle.
Weave the tail back and forth through the stitches on the wrong side of the square.
Change direction halfway through to lock the yarn in place.
Trim any excess yarn close to the fabric, but don’t cut too close or it might come loose.
If you have multiple ends, weave them all in before moving on. This step may seem tedious, but it’s worth the effort to keep your square durable and tidy.
Example: If your square has color changes, weave in each color’s tail separately to avoid lumps or bumps.
Weaving in ends neatly helps your square hold together and look polished.
You Don’t Need to Be Perfect—Just Willing
If you’re new to finishing your square with care, don’t worry about perfection. The goal is to prepare it to donate in a way that shows respect for the recipient and the effort you put in.
Mistakes happen, and that’s okay. What matters most is that you take the time to:
Secure your yarn ends so your square won’t unravel.
Weave in tails neatly to avoid loose threads.
Make sure your square lays flat for easy joining and use.
Even small improvements in finishing can make a big difference in how your square is received and used.


Comments